I host Christmas every year. As a food writer, culinary creator, and recipe developer, this is my Super Bowl. The kitchen is busy, loud, and packed with family and food—and I wouldn’t want it any other way.
Some elements of the Christmas meal, like a pasta course, hearty braised meat dish, or buttery lobster bake, are the traditional, non-negotiable dishes we all look forward to. But I always make it my mission to add a few new recipes to the mix to keep things fun, interesting, and flavorful. I love to keep everyone’s taste buds on their toes a bit, so to speak.
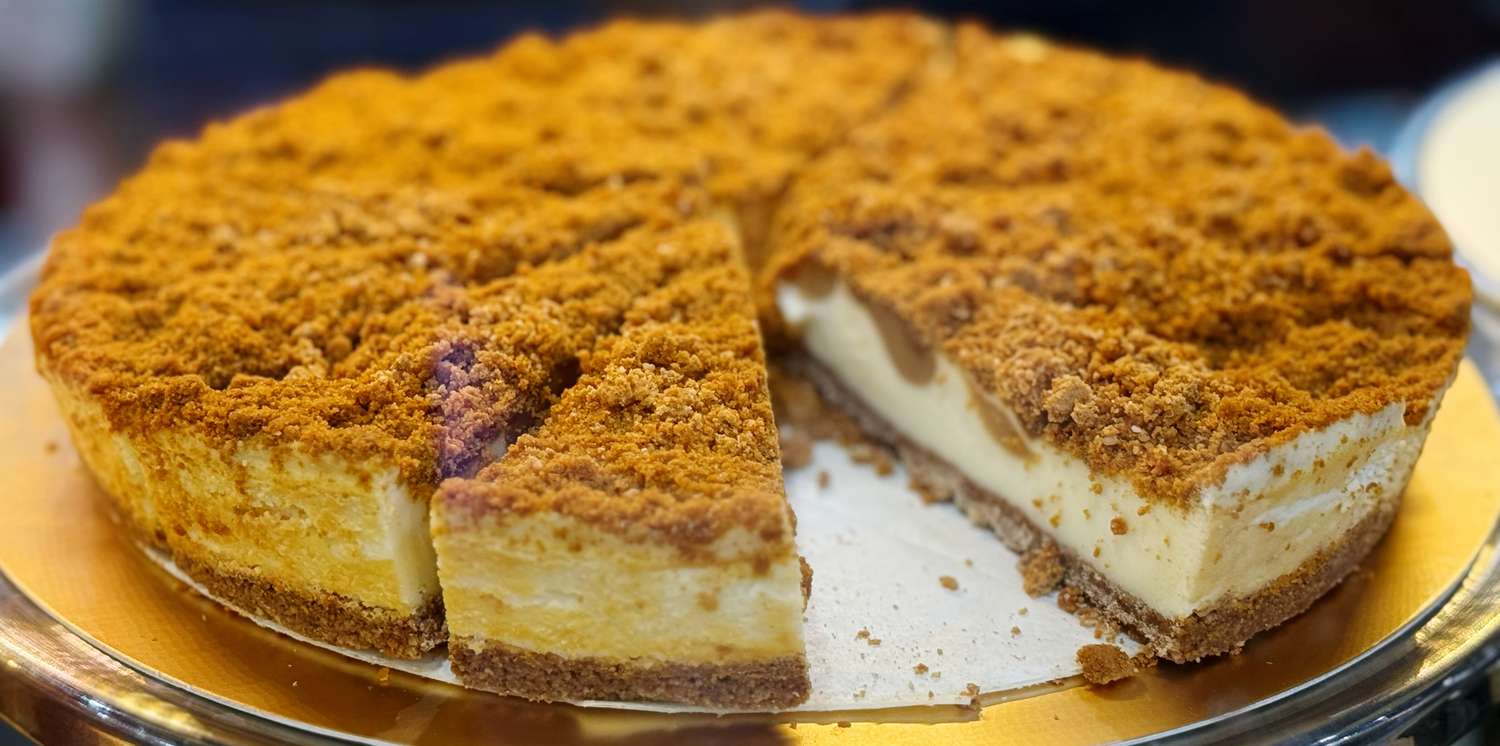
One of last year’s creations was a No-Bake Biscoff Cheesecake. I started working on the cookie butter based concept in early November, having my husband and daughter help me perfect it as very willing and ready taste testers leading up to the holiday. Not a scoop was left behind, and I wound up making it again for Valentine’s Day.
It instantly became a holiday tradition, and since July, the requests have been rolling in for this dessert to be on the table again. I shared how the recipe came to life on Instagram as well and I hope your family will make just as many beautiful memories around this luscious, rich, and decadent No-Bake Biscoff Cheesecake as my family already has. Not only is it delicious, but it’s also gorgeous at the center of the holiday dessert table.
How To Make No-Bake Biscoff Cheesecake
In addition to being a no-bake treat, another great thing about this dessert is that you can prepare most of it a few days in advance. With a busy cooking schedule and preparations under way for holiday entertaining or travel, being able to check something off your list ahead of time is always a big win.
Ingredients
Crust
- 2 cups Biscoff cookies (this is about one package, but be sure to leave 8 whole cookies to the side for topping later on)
- 1/2 cup unsalted butter, melted
Filling
- 16 ounces cold cream cheese
- 1 cup powdered sugar
- 2 tablespoons vanilla instant pudding
- 1/2 tablespoon vanilla extract
- 1 1/4 cups chilled heavy whipping cream
- 1/3 cup sour cream
- 1/2 cup Biscoff spread
Topping
- Remaining 8 Biscoff cookies, divided
- 1/2 cup Biscoff spread, melted in the microwave for 30 seconds
Directions
Crust
- Add Biscoff cookies to a food processor. Pulse until fine crumbs form. If you don’t have a food processor, crush the crumbs in a press-seal bag.
- Combine crumbs and melted butter in a medium bowl, and mix with a spoon until fully combined.
- Press mixture evenly into a 9-inch springform pan. Place in the freezer while you prepare the filling.
Filling
- In a mixer with a whisk attachment, add cream cheese, powdered sugar, vanilla extract, and vanilla instant pudding. Mix on medium until creamy.
- Add Biscoff spread and sour cream. Continue mixing until well combined.
- Add heavy cream to the mixer. Mix until combined, thick, and creamy, 5–7 minutes. Keep a close eye, scraping the sides as needed, to prevent over whipping and lumps from forming.
- Pour filling over the crust. Cover with aluminum foil. Allow to set overnight—2 days is even better. Don’t top the cheesecake yet.
Topping
- When you’re almost ready to serve, pour the melted Biscoff over the set cheesecake. Crumble 6 Biscoff cookies and sprinkle on top. Position the last 2 cookies as garnish. Re-cover with foil and return to the fridge for at least two hours before serving.
- When ready to serve, release the springform pan or serve the cheesecake directly from the pan (see my preference below).
Tips For Perfecting This Dessert
Serious Eats
- Be sure to use a springform pan. When it comes to delicate desserts like cheesecake, I swear by the springform pan. The sides are removable, they’re nonstick, and they’re easy to disassemble, making them forgiving, flexible, and recipe friendly.
- Freeze the crust while you prepare the filling. A quick trip to the freezer will help the crust to become firm, serving as a strong and sturdy base for the creamy filling.
- Add the crumb topping when you’re ready to serve. If you add the crumb topping too soon, it may become saturated and soggy. The slight crunch of crumbled cookies atop an otherwise smooth and creamy dessert adds some lovely contrast to the mix.
- Serve this dessert in the pan. In my experience, guests like to scoop this from the pan and eat it almost as you would a trifle or pudding. Serving it straight from the springform pan allows people to use the edges to gather a neat and generous scoop. Additionally, they sometimes fear that moment of truth when it’s time to release the springform pan and pray for the best (myself included). The last thing you need is that kind of pressure when you’re trying to enjoy the holiday.
- Serve it with a large serving spoon. Speaking of scooping, I always serve this cheesecake with a large knife, a cake server, and a large metal or silicone serving spoon. Slicing it like a classic cheesecake is fine too, but this particular dessert really releases more as a scoop than a slice, so a tool for scooping is a helpful option.
- If the crust is too hard upon serving, place the pan on a warm cloth for a few minutes. When it comes to a no bake crust with a butter base like this one, it can get very hard in the freezer and fridge. If the crust is being a bit stubborn upon serving, simply place the pan on a damp, warm cloth for five minutes. After that, the crust should lift easily.